This is part two of my lesson plans on light. I was able to do all parts of these lessons in one day because at the public library with my teen photography club kids, I had a very large block of time to teach and entertain keep them out of trouble. I had to be prepared with enough activities to keep them busy. Most times it was just controlled chaos, but they were having fun and learning at the same time.
Lesson 1: The Magic Hour/Light Chasers Manga Booklet
Activity 1: Practice seeing light/Make yourself into a Manga Character
Lesson 2: See the Light
Activity 2: Newspaper Ninjas- Light Chasers
Bonus Activity: Candy Making-Cherry Chocolates
Lesson 2: See the Light

Photography comes from the Greek word for light-“Photo” and it’s impossible to understate the importance of light in creative photography. Obviously, light is needed to make an exposure, but it goes much deeper than that; it is the quality of the illumination in a scene that defines the quality of the final photograph.
- Lighting is the most important thing in photography. In a 2D photograph it gives
- depth
- texture
- mood
- atmosphere
2. It is the interplay of light and shadow that makes the difference
between an everyday shot and a spectacular one!
3. It’s important to see the light and become a light chaser!
- If we learns how to see the light, the subject’s and the background’s brightness, and even the movement of light, we will make better exposure decisions and become better photographers.
- We’ll also know when we need to control the light using a reflector, a diffuser, or a flash.
- We’ll learn when the light isn’t right in a certain location and know when we need to move the subject or change the photo’s composition.
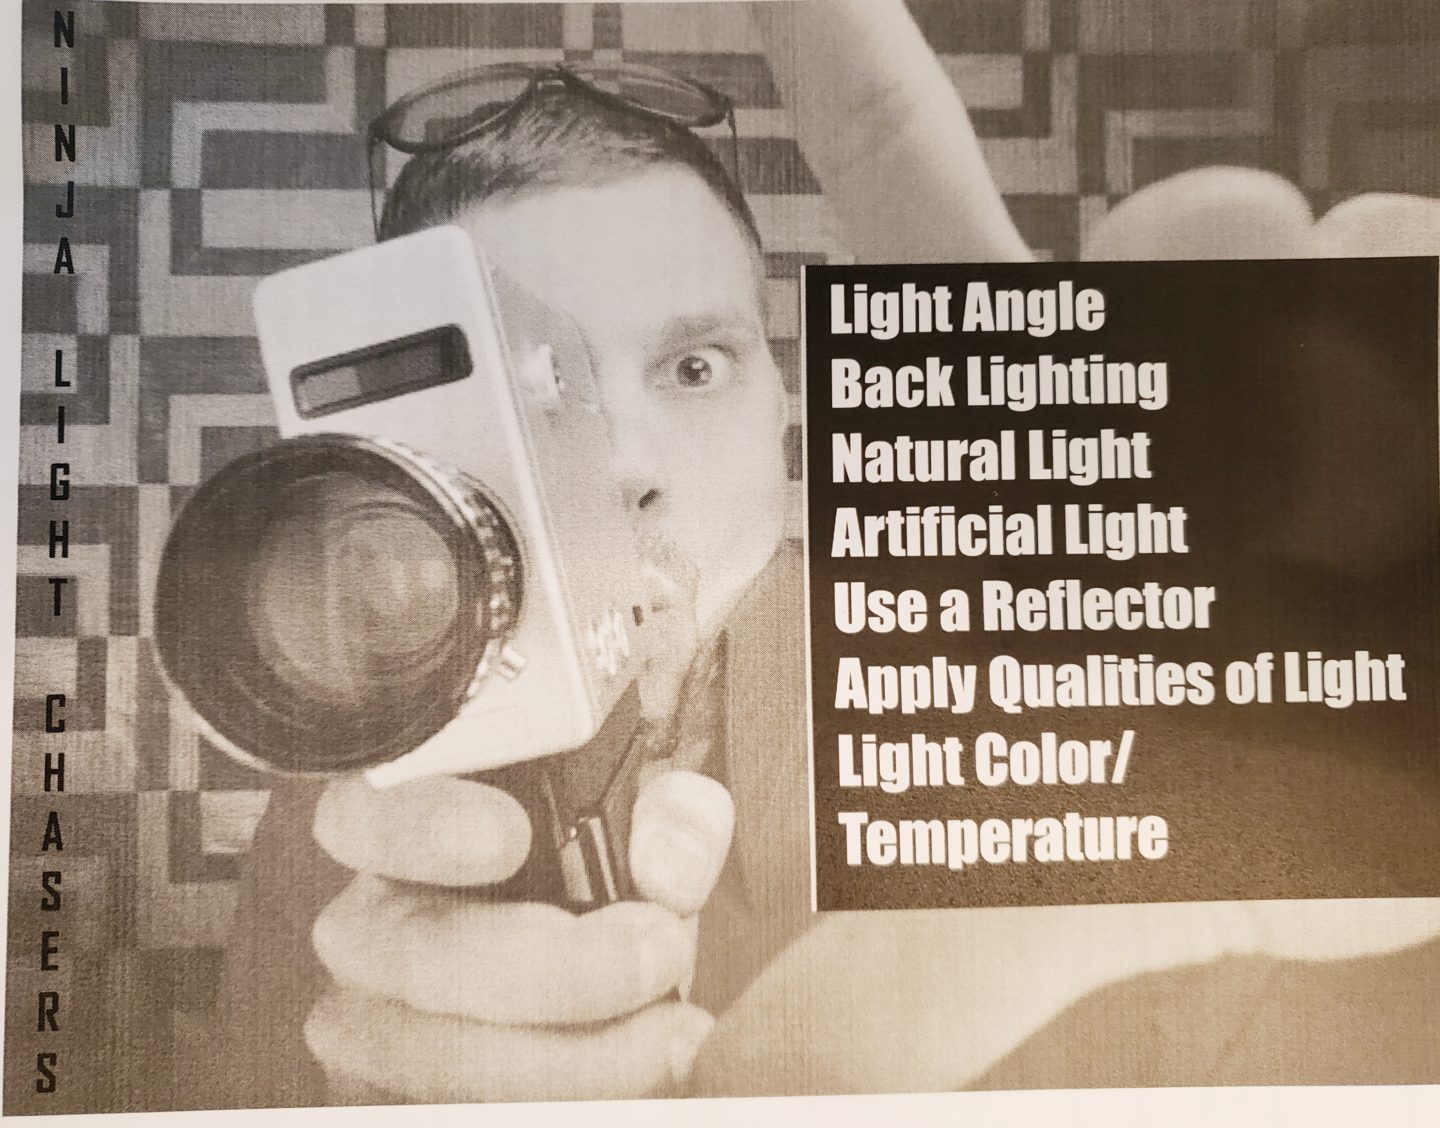
Angle of Light– Avoid taking pictures with light shining directly over the subject because the harsh lighting will create strong highlights and deep shadows, resulting in a loss of detail.
- Light thrown at an angle from either side of the subject, or from behind the camera, is often easier to work with.
- When a subject is lit at an angle, you get a 3-dimensional effect.
Backlighting- This is where the light source shines from behind the subject causing the subject’s features to be in shadow.
- Sometimes these are the moody mysterious shots that you are going for, but often times it’s not.
- Depending on your subject’s translucence, such as leaves on a tree, the light may make it appear luminous as long as the backlighting is soft and diffused.
- Most of the time you will want to use a fill light to illuminate the subject and then allow the backlight to fill everything else with light.
Natural Light-The obvious difference in sunlight as time passes is its position in the sky.
- At sunrise the sun is a 90 degree angle until around mid-day when, (depending on time of the year and geography) it is typically overhead.
- This movement is reversed as the clock ticks through to sunset.
- Two less obvious changes caused by this movement during the day. First, the length of the shadows decrease as the sun rises-in the early morning shadows are long.
- Secondly, the color temperature of light alters from red (Sunrise/sunset) to blue-white (noon).
- The presence of shadows is what gives out photos depth, form, and a three-dimensional appearance.
Artificial Light- Any light other than the sun, moon, and stars is artificial light.
- We can manipulate artificial light in many of the same ways we do for natural light.
- One way is to highlight darker areas of a subject by using a reflector.
Qualities of light- harshness/hardness and softness of light is very important to a photographer.
- The ability of light to shape and sculpt three-dimensional subjects varies with its harshness/hardness.
- Harsh/Hard light reaches the subject almost entirely from one direction.
- The lit areas are very bright, but unlit areas are incredibly dark. Typically this is light from the sun on a clear day.
- Soft or low-contrast light is diffused. Light reaches the subject from many directions at once.
- All parts of the subject are similar in brightness, resulting in soft shadows. Typically this is light from an overcast day or during the magic hour at dawn or sunset.
Activity 2: Newspaper Ninjas- Light Chasers
Supplies:
*These supplies are for splitting your class/club into two teams. You may have to use a different method or add another kind of candy if you need more than two teams.
- Red and Green Jolly Ranchers
- One strawberry hard candy
- One green Starmint
- Small bag to hold the candy
First, divide the Photography Club or classroom into teams. To make it easy on yourself and and to insure that there aren’t any hurt feelings, at not being picked for a team, always use fun sorting methods.
- We only had enough for two teams. So, I used the “Candy Game” to divide them.
- I counted the number of teens that were participating. I divided the number in half and put equal parts red and green jolly ranchers in a bag, but less two.
- Because, I put two special pieces of candy in the bag, a strawberry hard candy and a green Starmint. Whoever reaches in and pulls out one of these special candies become the team captain. Strawberry is red team’s captain. Green Starmint is green team’s captain.
- If you get a red Jolly Rancher-you are on the red team.
- If you get a green Jolly Rancher-you are on the green team.
Supplies:
- Masking tape
- Old newspapers
- Two funny ninja inspired hats for the team captains
Game Rules
Part 1: Standing behind the masking tape start line, each member of your team will take turns performing one of the light chaser tasks. You are competing against the other team/teams. The chosen Captain Ninja stands at the start line. Captain Ninja’s job is to assign tasks from the game sheet to the teammate next in line. Use the handout to to jog your memory on the qualities of light. Be creative and take a photo that shows the quality of light that you were assigned by your Ninja captain and then show the instructor. If approved, moved to the back of the line and it’s the next person’s turn. If not approved, the instructor will coach you and try again.
Part 2: Once everybody on the team has had a turn, it’s time to wrap your Captain Ninja in their ninja suit! Teams must use the newspaper and masking tape to cover the entire body of their ninja, except the eyes. Also, you must tape one of the arms of your ninja to the side of his/her body, so they cannot use it in the final part of the game. The first team finished with this last task wins the relay race!
Part 3: Now that each team’s ninja is prepared for battle, they are ready for the “scrap” of their lives! Form a circle around the newspaper ninjas. Newspaper ninja captains, you are to stand in the middle of the circle. Your job is to pull off newspaper scraps from the opposing ninja. You are not to use the hand taped to your body. The last ninja with any newspaper on him/her wins! No kicking or hitting! Only tear off newspaper from the other ninja.
I used their exuberant energy in helping me to clean up all the newspaper scraps and tape all over the floor. It was a quick clean-up. Some of the teens had to go home but many of the others stayed. This meant it was time for the bonus activity! *I gave the kids who had to leave a copy of the recipe. It’s been at least ten years since the first time I did this with the library teens. I still have kids (young adults, now) who will come up to me and ask if I remember that time we made cherry chocolates in the library break room! They all had a blast, but warning it was messy. I didn’t give the chocolate enough time to set and I didn’t dry the cherries long enough. We had a bunch of leaking cherry chocolates that had to be eaten in a hurry.
Bonus Activity: Cherry Chocolates
Ingredients:
- Jar of maraschino cherries with the stems (need at least 60 cherries)
- 2 cups powdered sugar
- 3 tablespoons unsalted butter
- 3 tablespoons light corn syrup
- 2 12 oz bags of milk chocolate chips
- Waxed Paper
Instructions:
- Drain cherries and set on paper towel to dry
- In medium bowl combine butter and corn syrup until smooth
- stir in powdered sugar until forms ball and then knead the dough until all ingredients are mixed
- Wrap each cherry in about 1 teaspoon of dough mixture
- Chill until firm
- Melt chocolate chips in microwave, stir often and careful not to burn it.
- Dip each cherry in by its stem, and place on waxed paper lined sheets.
- Chill until completely set.